Print Augmented Guide
 Introduction

Augmented reality is the effect of superimposing content over reality by viewing it through a mobile device, or special glasses or other screen. The effect only works if the viewing device knows how to identify a “target” and has an app installed which can then generate the related augmented reality content.
Creating an augmented reality artwork is as simple as downloading an app that can relate an image of this artwork to the augmented content that you want it to trigger. This guide explains the steps involved to create a small printed artwork with augmented reality content.
Print Augmented
ARCMTL took notice of the potential of augmented reality for the first time in 2015 through its Expozine small press fair. In 2015 and 2016, the Digital Expozine project explored the practice of electronic publishing among the more than 250 small and emerging publishers that take part in Expozine each year.
 There appeared to be limited enthusiasm for e-books aside from some literary publishers, but books integrating augmented reality seemed to show much potential for more visual content such as visual arts, graphic novels or children’s’ books.
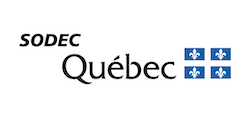
In 2017, ARCMTL developed the Print Augmented project, a one-year exploration of the potential for AR applications in the printed arts. Starting in the spring of 2018, workshops and presentations were carried out in the context of several art festivals and conferences, allowing dozens of artists to be exposed to AR art. Participants provided much feedback about their experiences and about the various approaches and applications that were used in workshops. The Print Augmented project itself had to evolve all through the year as aspects of AR art continue to evolve rapidly.
Early research and planning for this project included pioneering Montreal art publishers Anteism and their co-pubishers, Harley Smart and Ryan Thompson. They developed two of their own AR applications that are used to view AR content in their own publications, AR Book and AR Book 3D. As a sign of how rapidly the AR field is evolving, they developed their own applications in 2016 after the application they had been using since 2014 was discontinued.
Harley and Ryan hosted an AR print creation workshop for the Print Augmented project in June 2018 as part of the Chromatic Pro arts conference in Montreal. They also hosted a presentation of AR art books as part of the Volume MTL art book fair and conference in October 2018.
 An AR creation workshop held in August 2018 by Distroboto and the artist and zine maker Jenny Lin also informed the Print Augmented project. In that workshop, held at the Artexte documentation centre as part of the Queer Between The Covers zine festival, participants were invited to explore the potential for artistic expression of issues around identity, particularly in the case of persons from marginalized, minority or visible minority communities.
After absorbing the lessons of these various AR activities held in 2018, the last workshop series for the Print Augmented project were carried out in the winter of 2019 at artist-run centres devoted to printed art in Montreal by ARCMTL and L’Abricot, James Kerr, (Atelier Circulaire) and Québec (Engramme).
The works created during these workshops were designed to be distributed through the Distroboto art vending machines in operation in both Montreal and Quebec. ARCMTL has regularly used its Distroboto network to let the public discover and acquire special works created in thematic workshops. In this case, the miniature sizes required for works sold in Distroboto were also of a perfect size for its AR contents to be easily viewed on a mobile phone.
 Guide
Guide
This guide explains how to make your first printed artwork that integrates augmented reality (AR).
A hybrid print-augmented work is comprised of a single image that has been uploaded to an online AR platform which makes visual or audio-visual content appear when the work is viewed through a mobile device equipped with the corresponding AR viewing app.
In short, the artist must create a printed work for which a digital image (jpeg) is uploaded online alongside a GIF or MOV file that will represent the AR content.
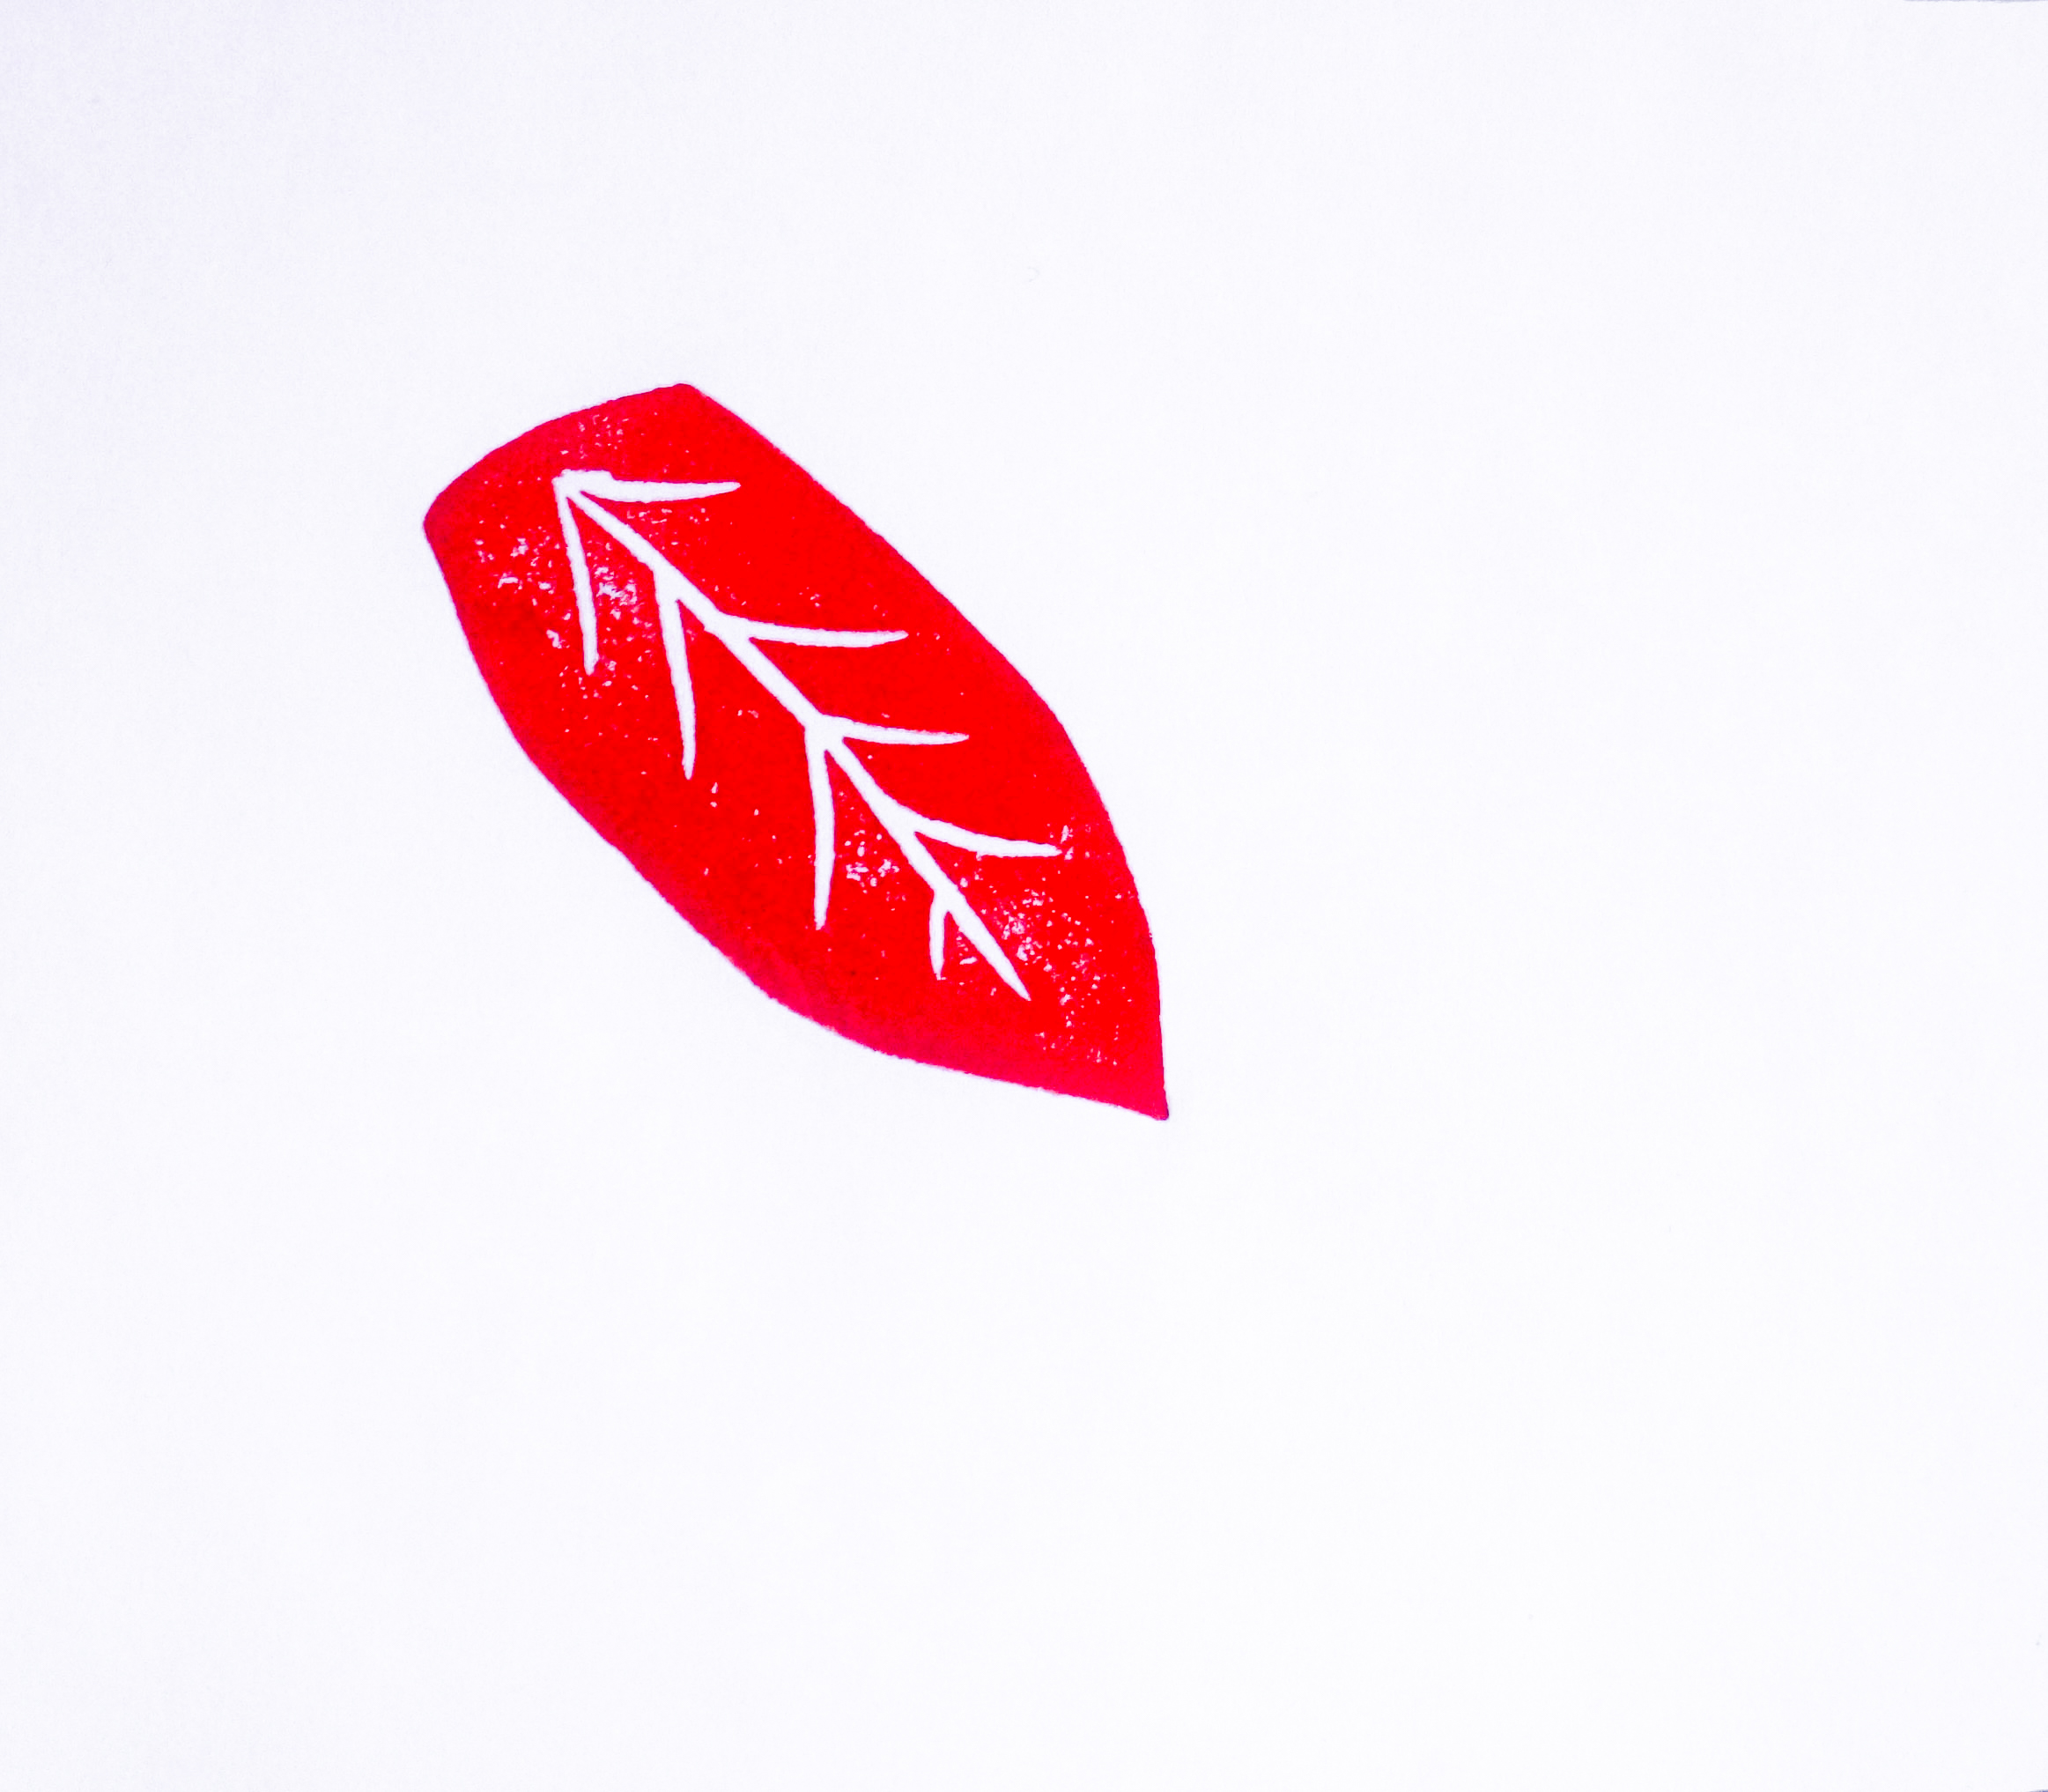
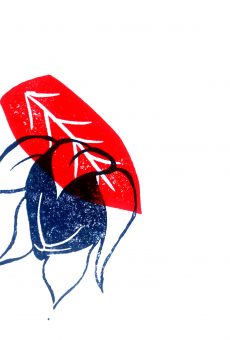
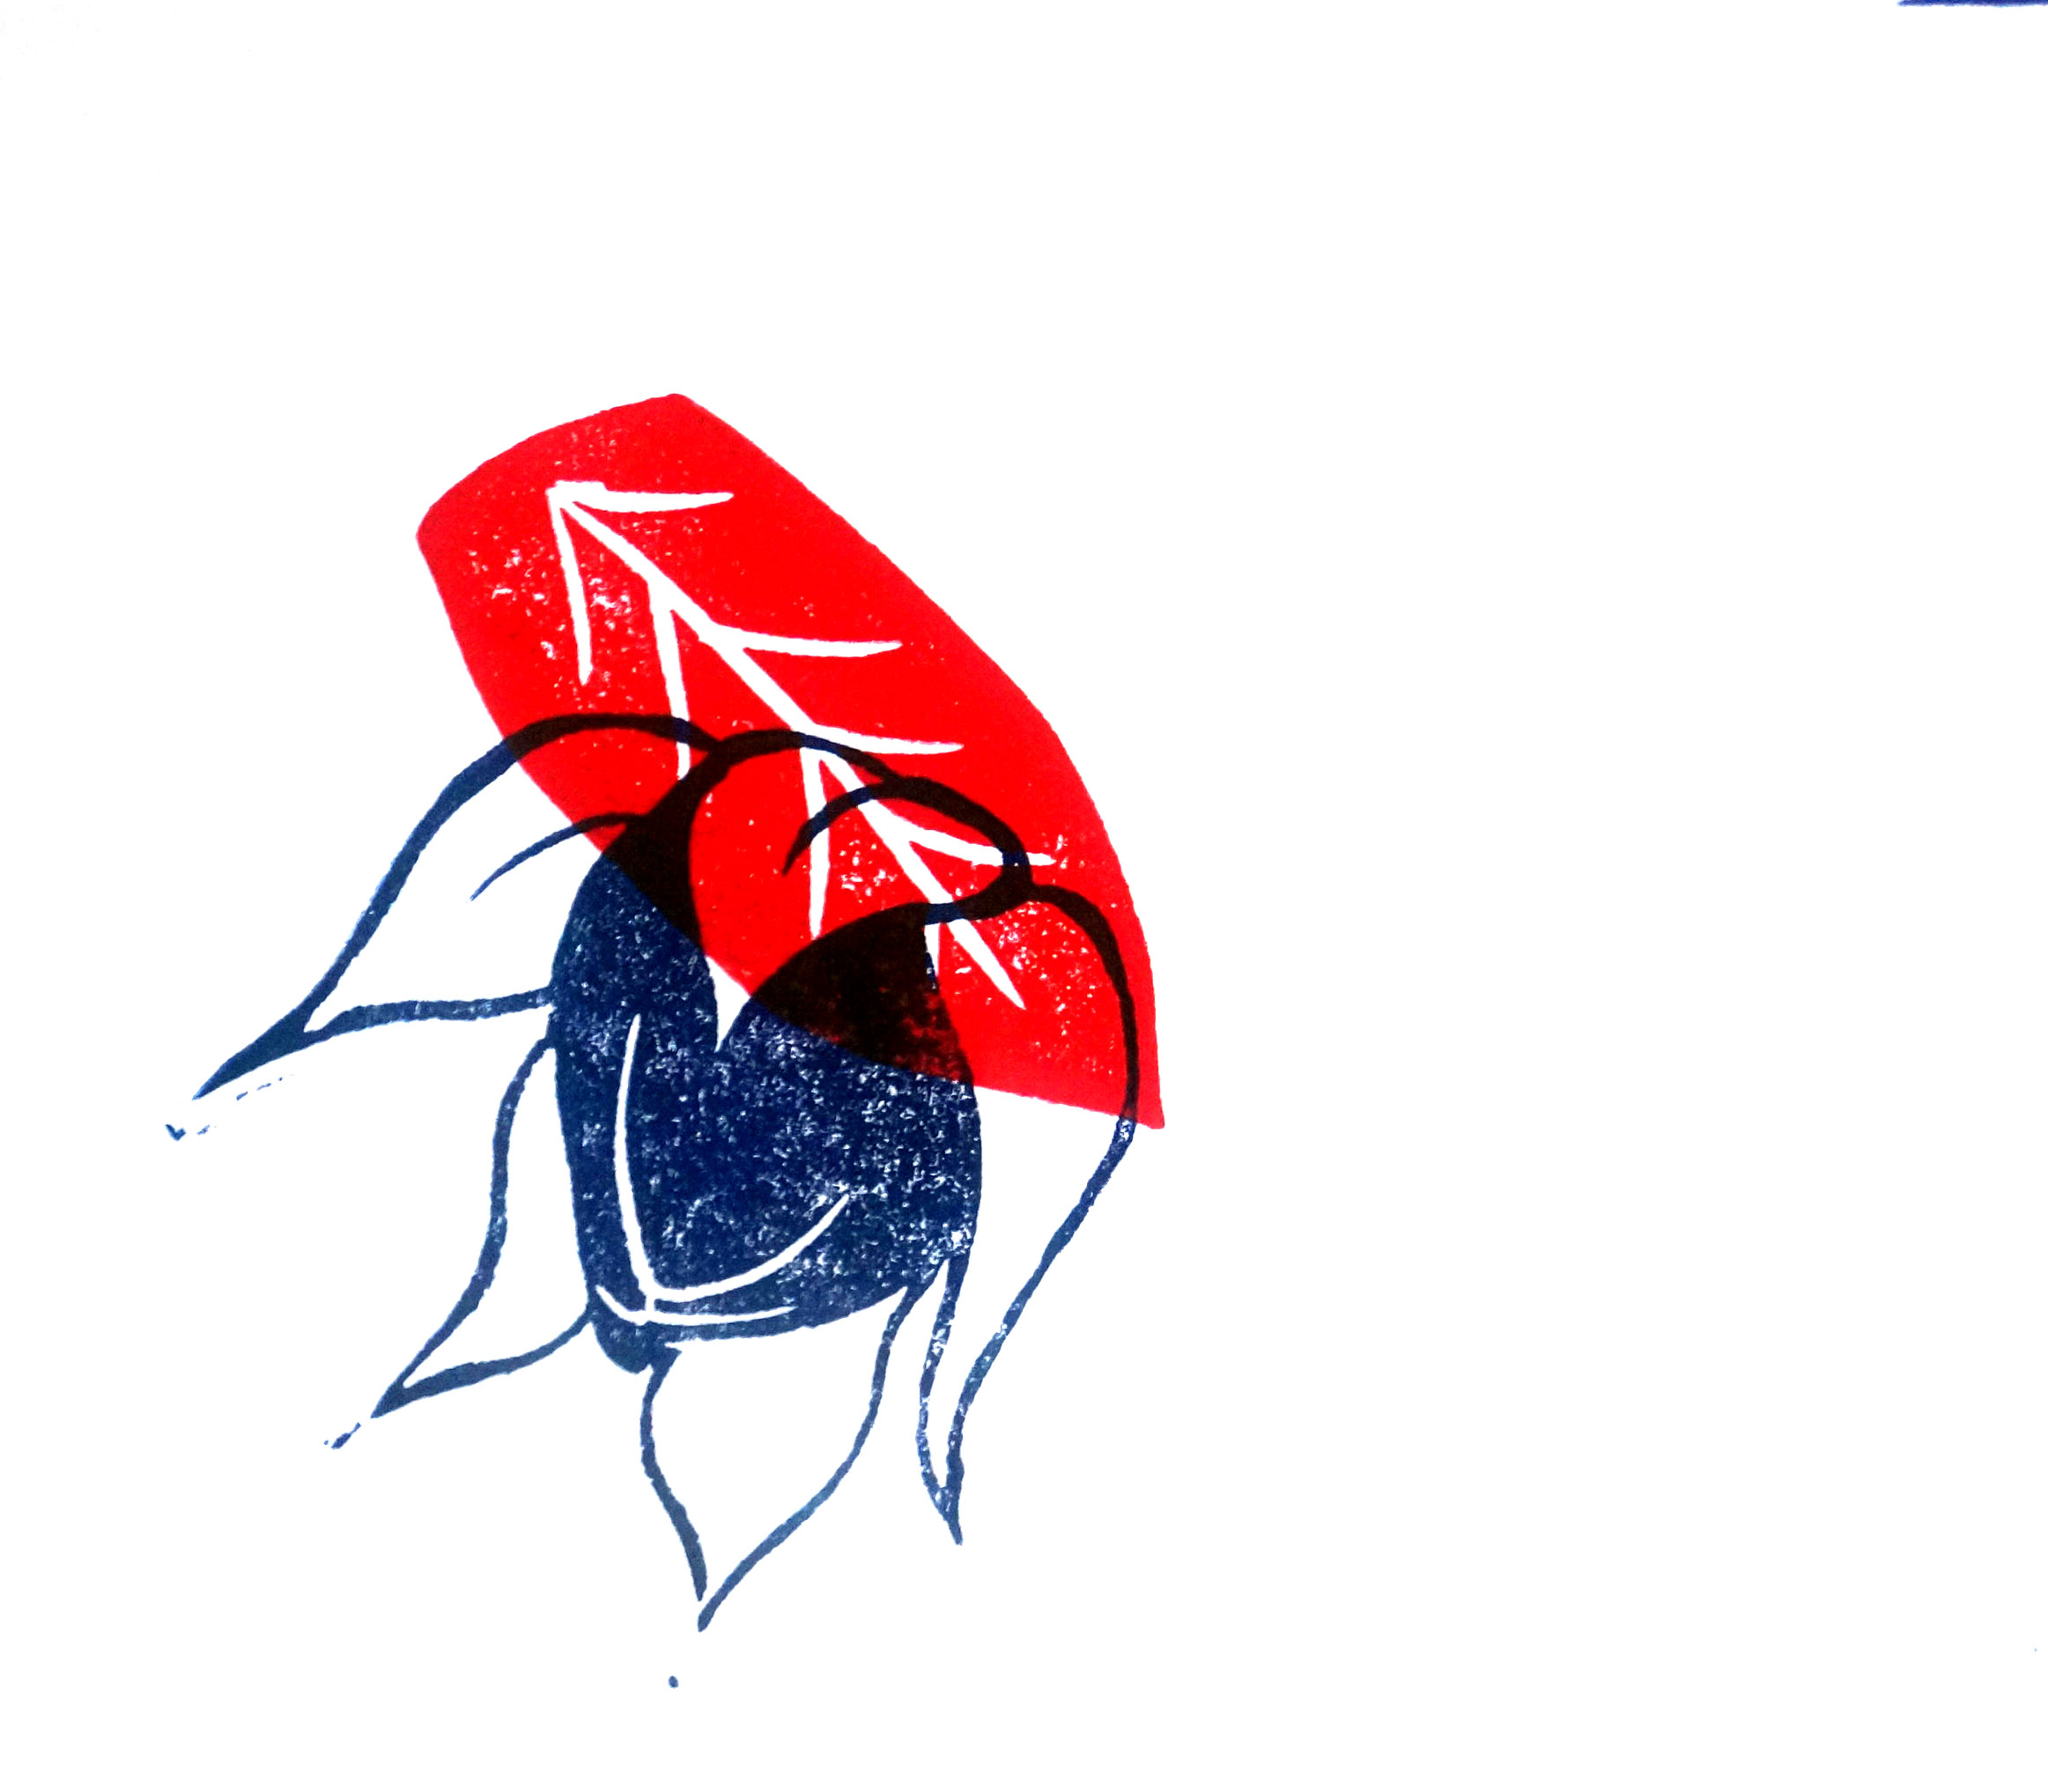
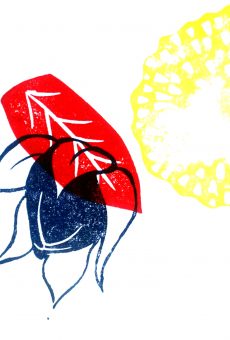
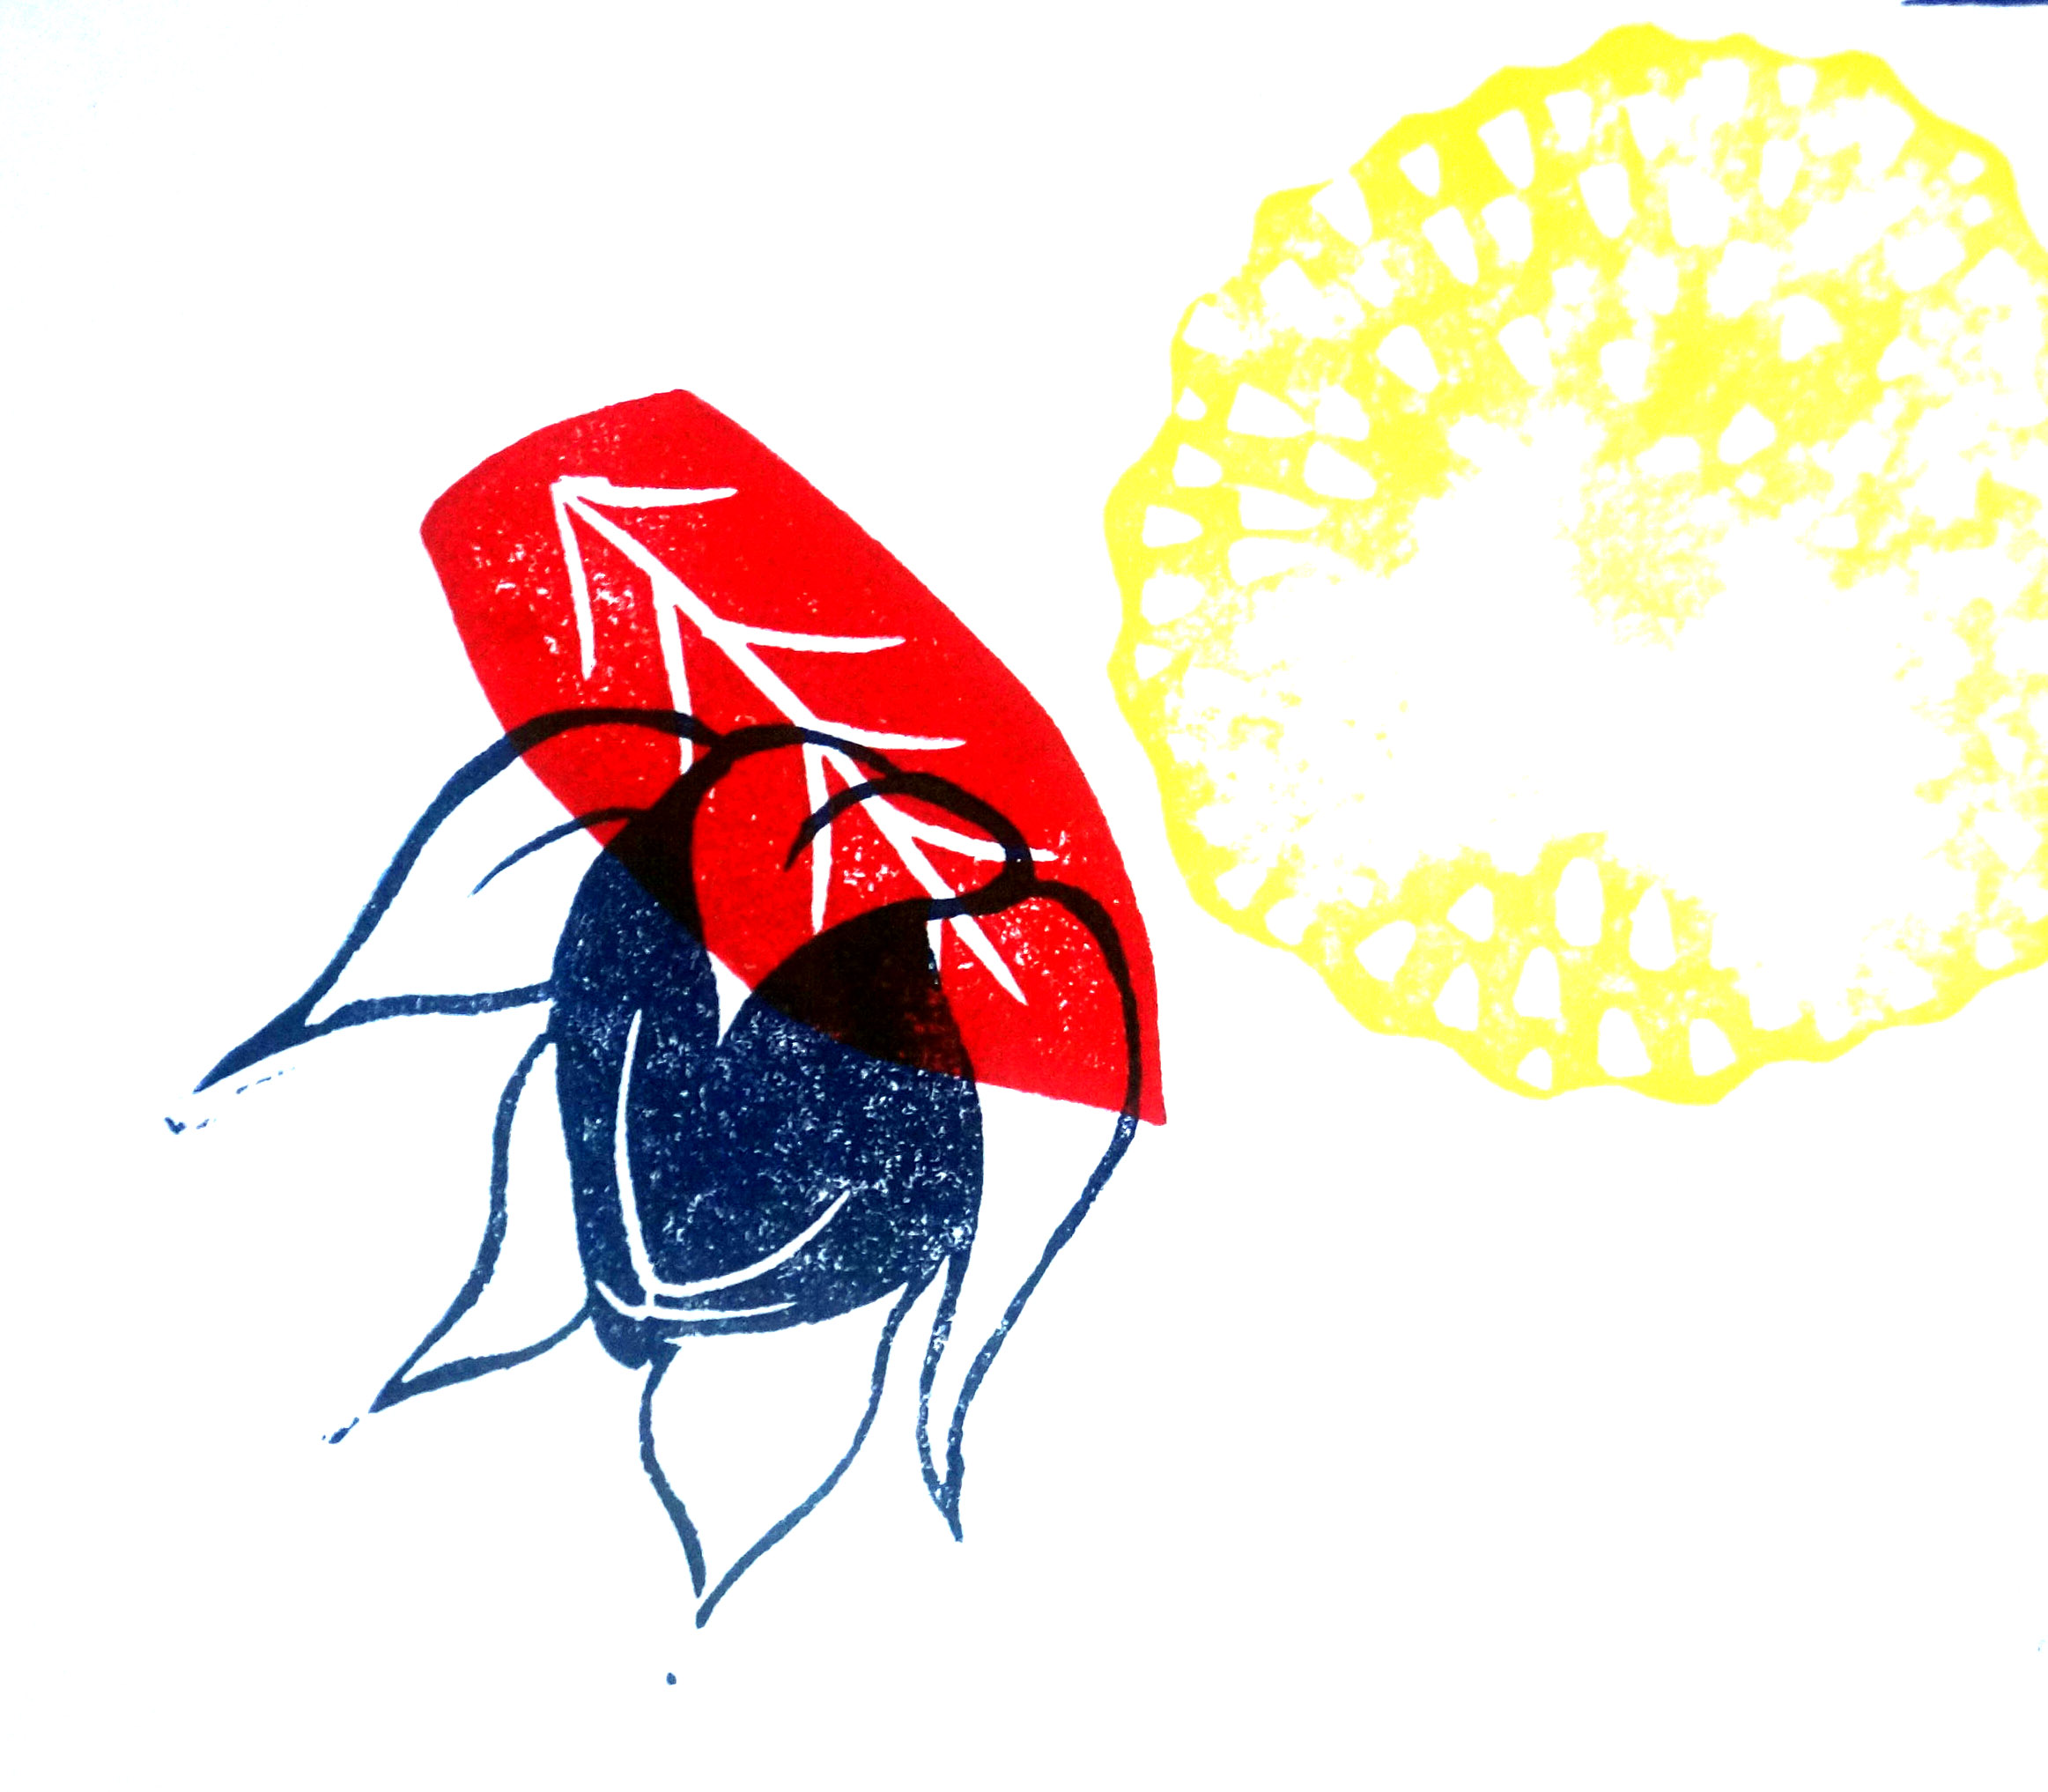
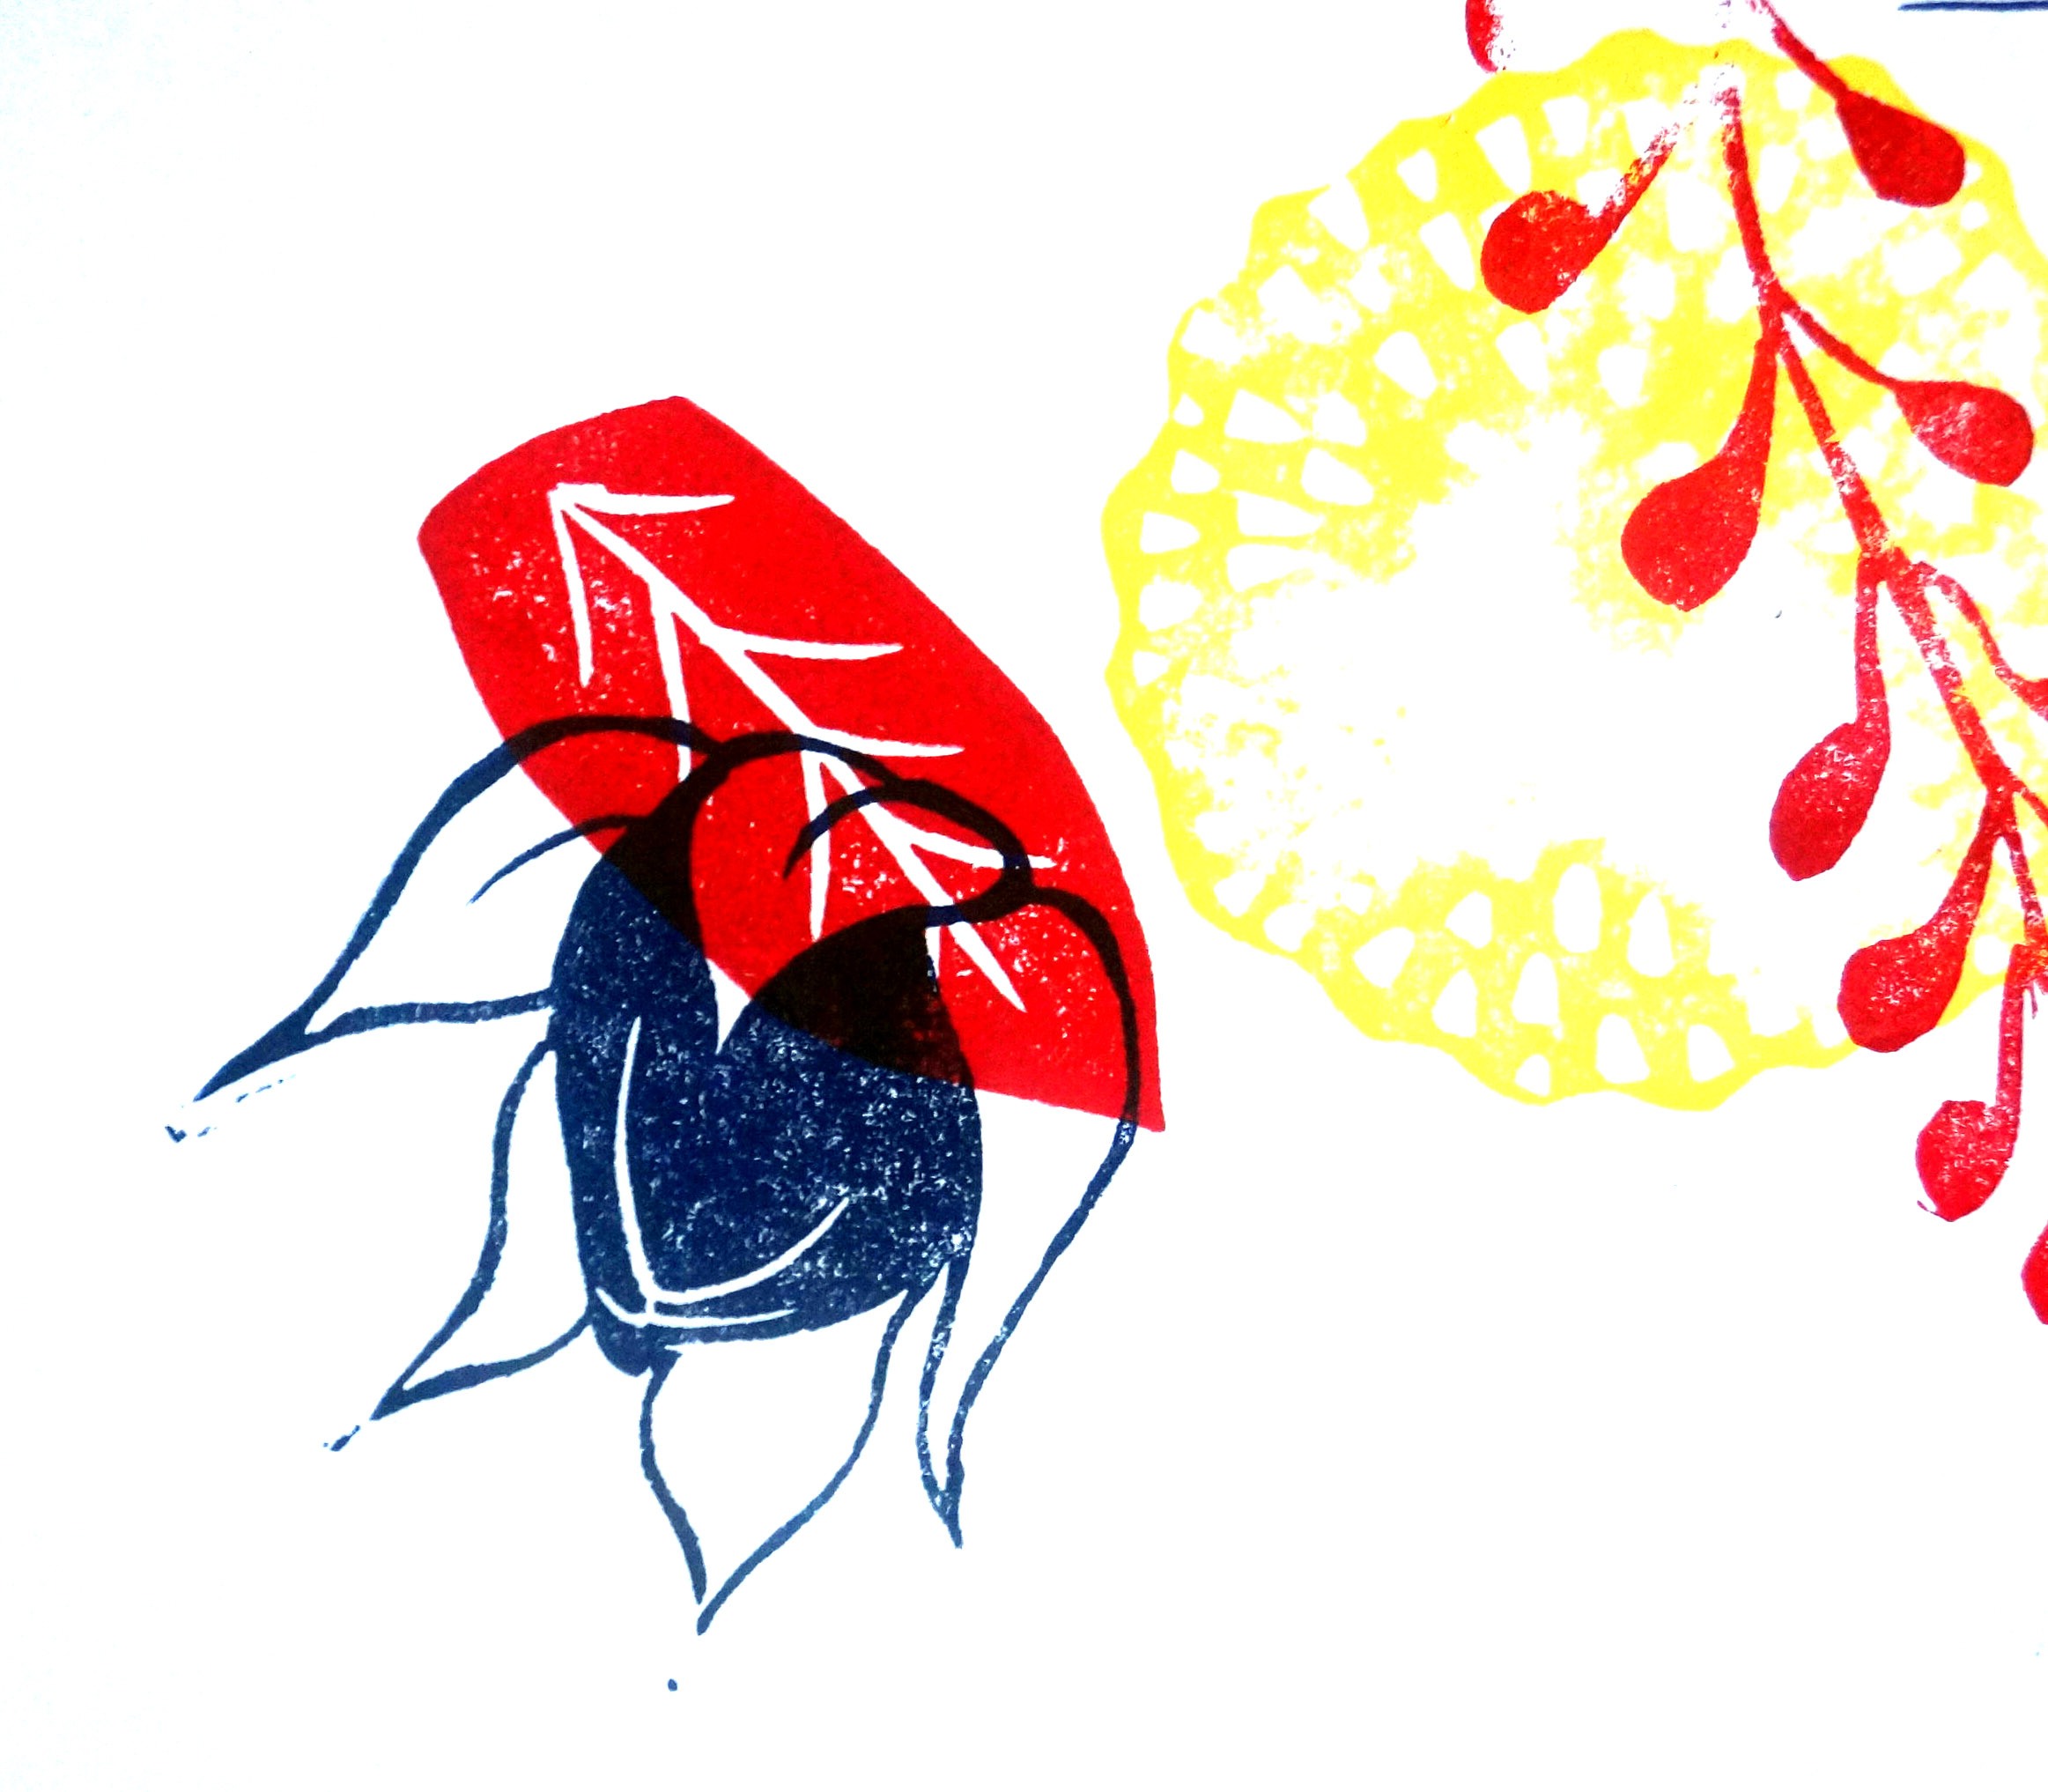
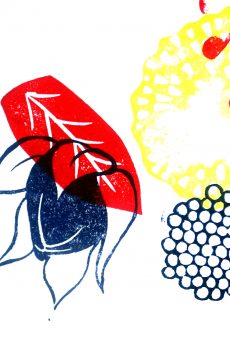
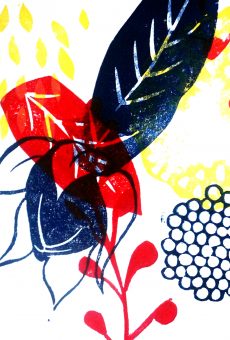
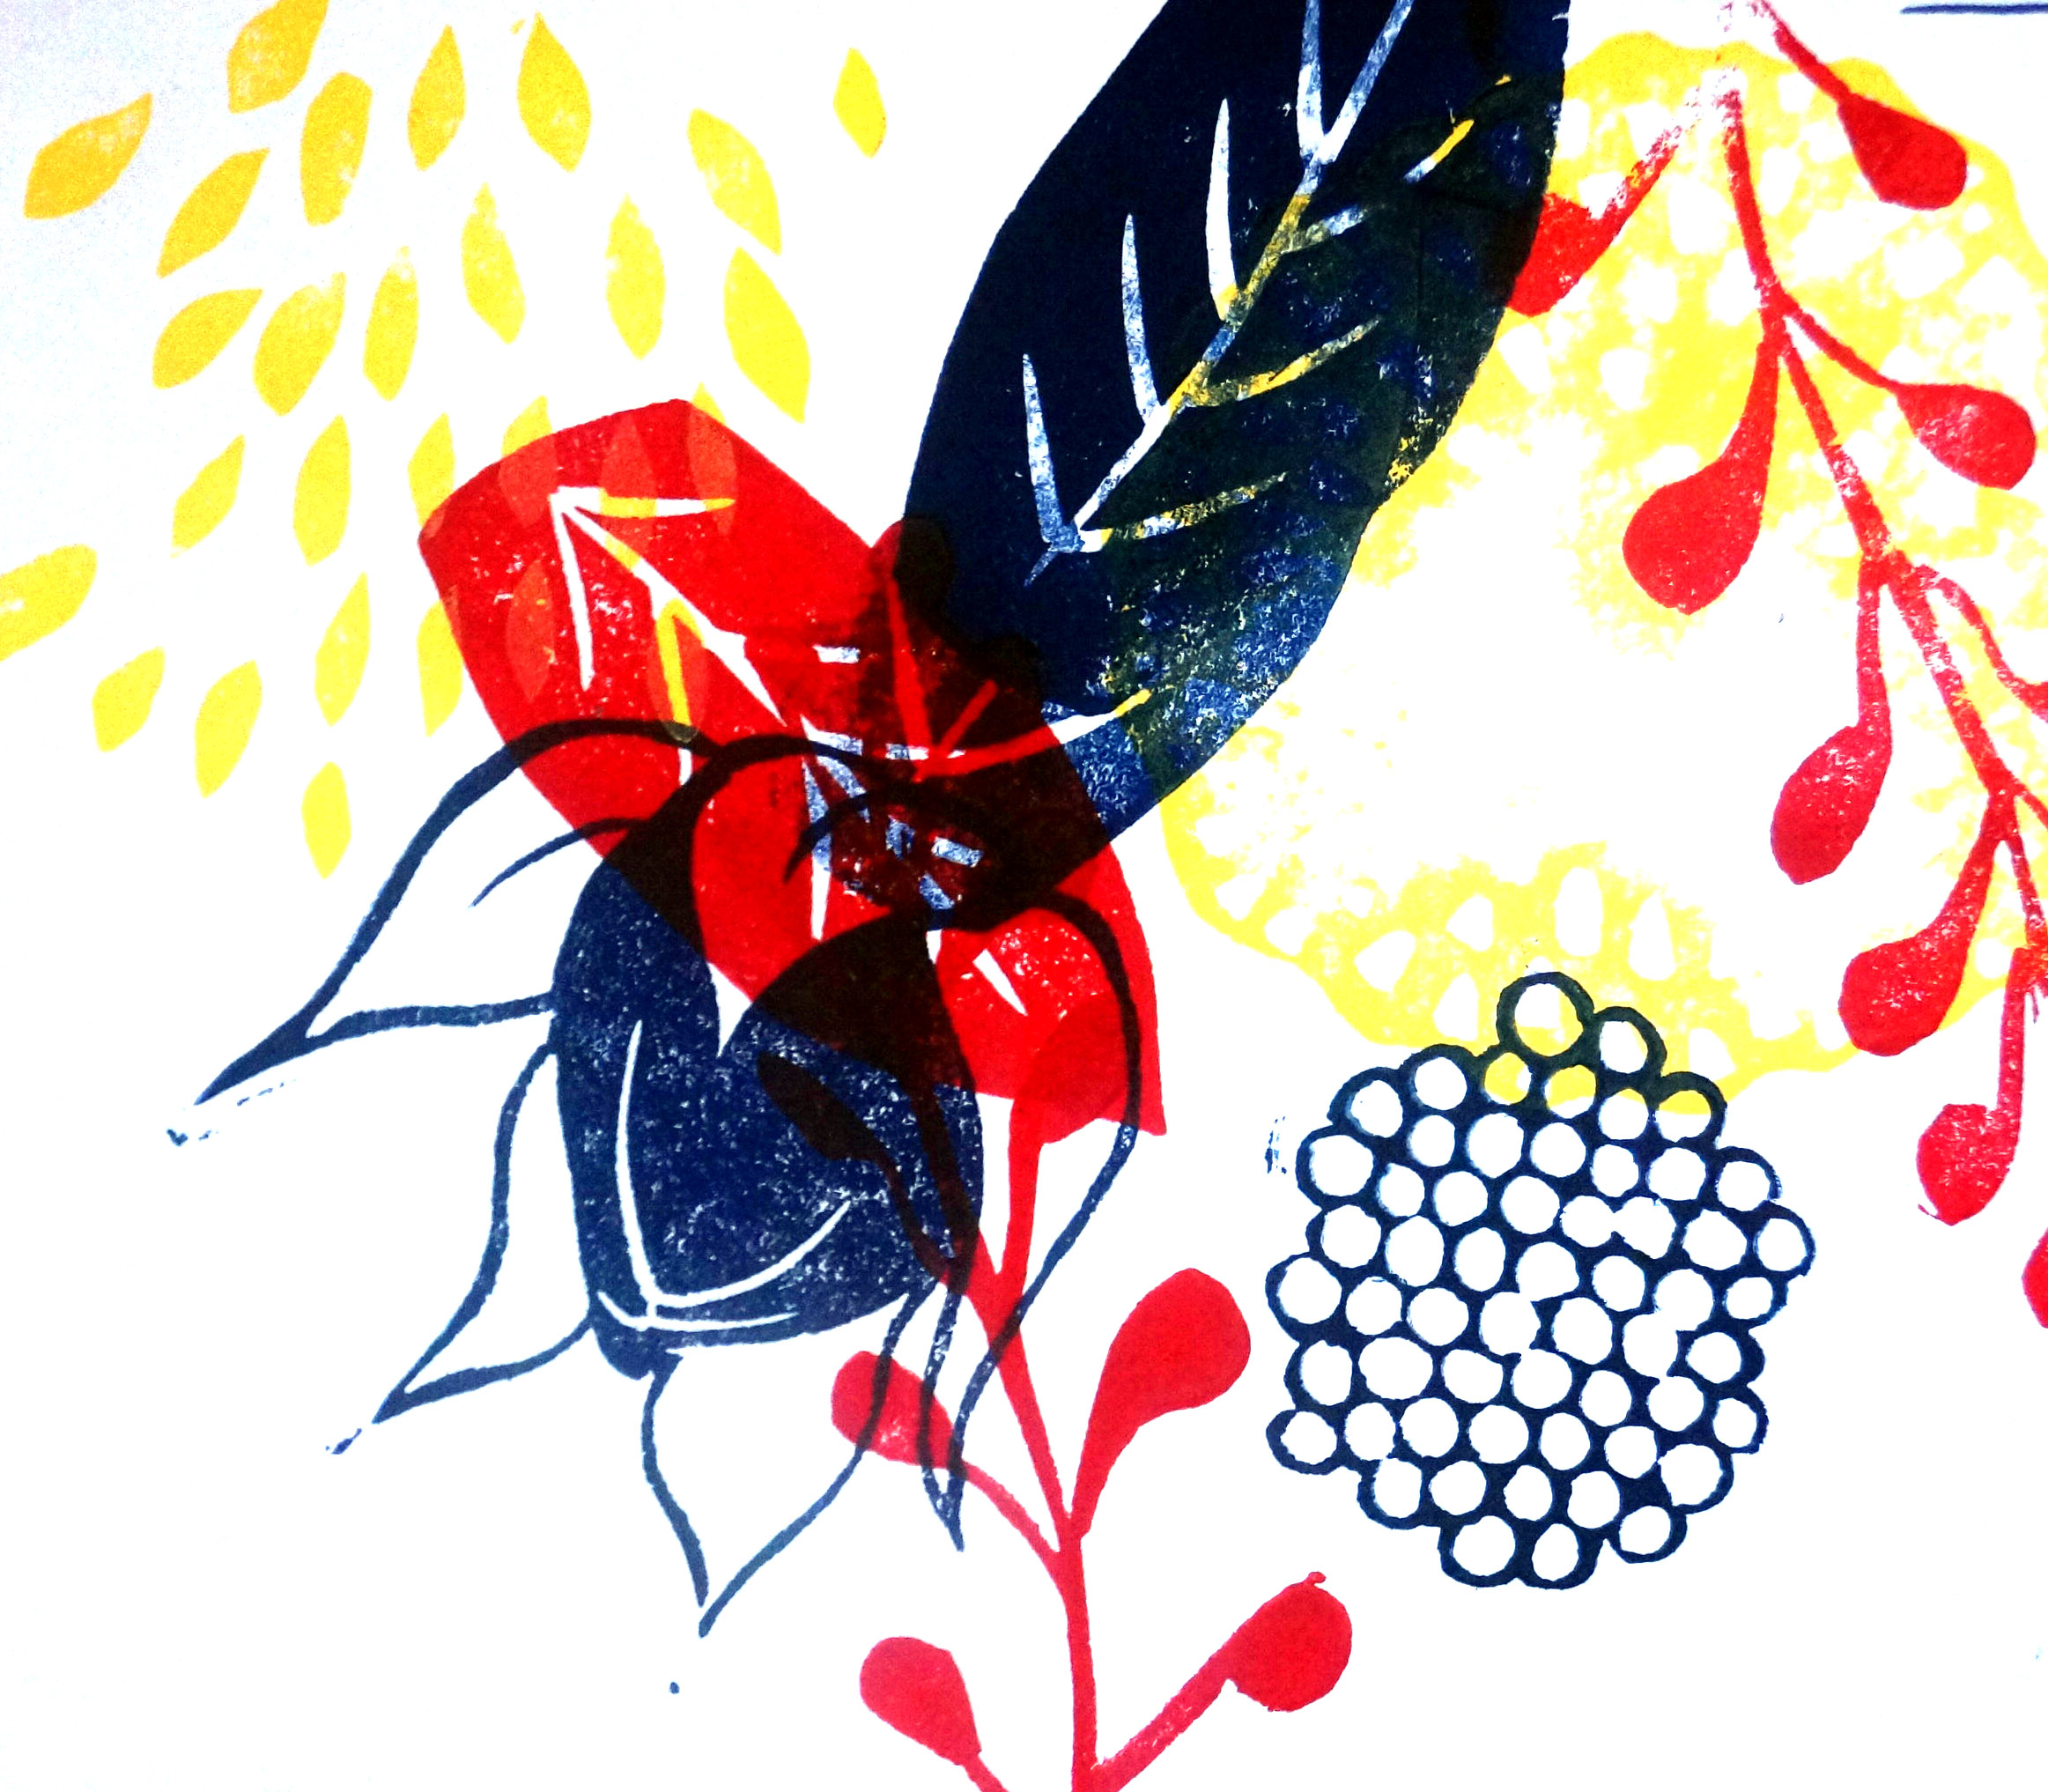
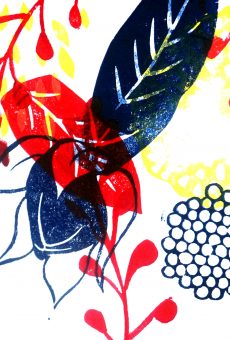
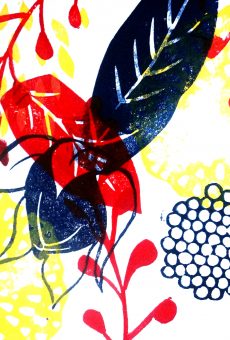
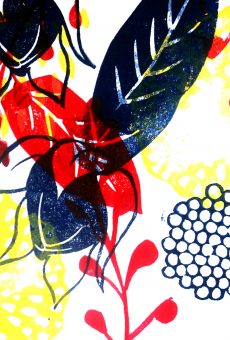
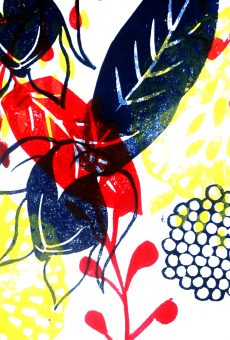
There are several possible approaches to conceiving of AR content, but for this guide, we’ll explain step by step how the example of an AR print seen on the cover of this guide was made.
Here’s what you’ll need:
• Digital camera or mobile device with camera, ideally with tripod
• Access to Photoshop software or equivalent
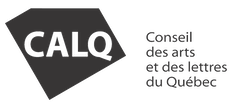
• A free artist account on the website artivive.com. The Artivive app, available for iOS and Android, is required to view RA content, including images on the cover and back cover of this guide! Note that an artist account is required to finalize your RA print.
• Paper, pencils, rubber stamps or whatever other material you want to use to make your print or image
Specifications
The dimensions of the print will be no larger than the maximum size acceptable for distribution in the Distroboto art vending machines: 3.375 x 4 inches / 8.6 x 10.1 cm.
NOTE that the exact dimensions of your print must match its digital version, i.e. the dimensions of its jpeg, as should the images used for the creation of the GIF or MOV.
Creation and documentation
This example of an AR print uses photographic documentation of the creation of the print to generate the AR content. In other words, just like the example on the cover of this guide, the AR content will quickly show how the work was made.
To create any animated GIF, it’s best to have between 15 and 30 images to work with. With this in mind, try to take at least 15 photographs during the creation of your print.
Here are the steps to follow:
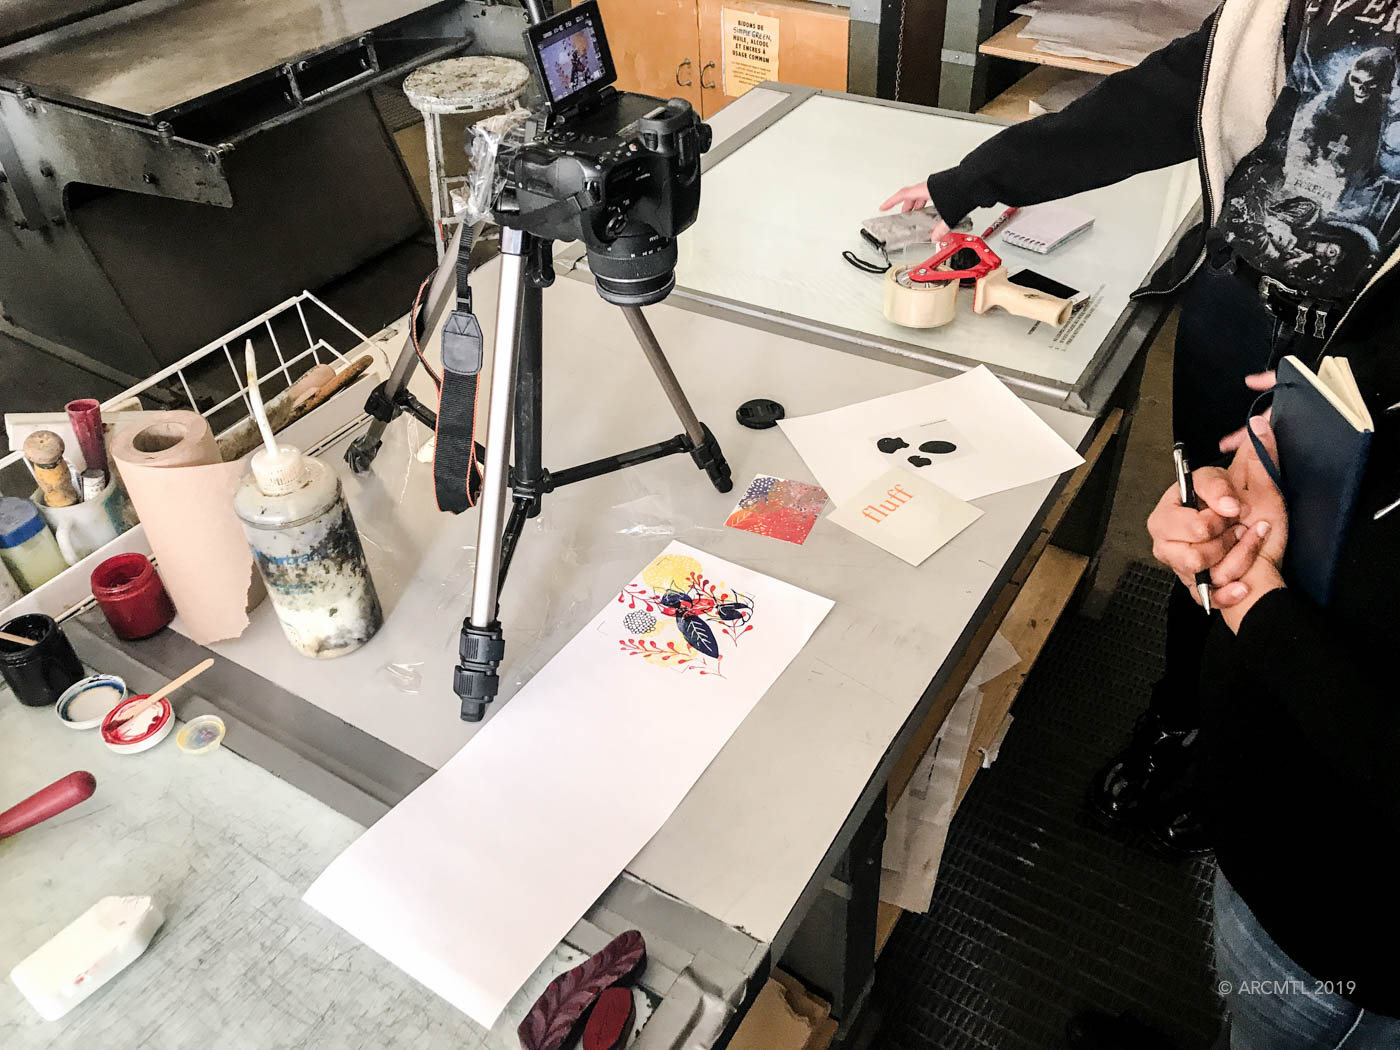 1. Plan the creation of your print. On a surface or table, tape down the paper you’re working on and prepare your pencils, stamps, engravings, paint, or whatever you’re working with.
2. Attach the camera to a tripod, if possible, over the work, or at least frame your artwork with lines or tape so that you can more easily frame multiple photos consistently while creating the work. Note: we use the example of a print for the next steps, but you can follow them using other techniques.
3. Print a first impression onto the paper.
4. Take the first picture of the artwork, making sure the focus and settings are properly adjusted. You shouldn’t change the settings for the rest of the photos in order to keep them consistent.
5. Print a second impression on the paper; take another picture. Take care to try to use the same angle for all photos, unless you want to experiment with a slight movement or shake in your animation!
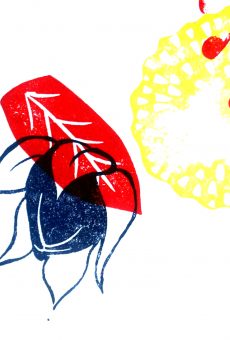
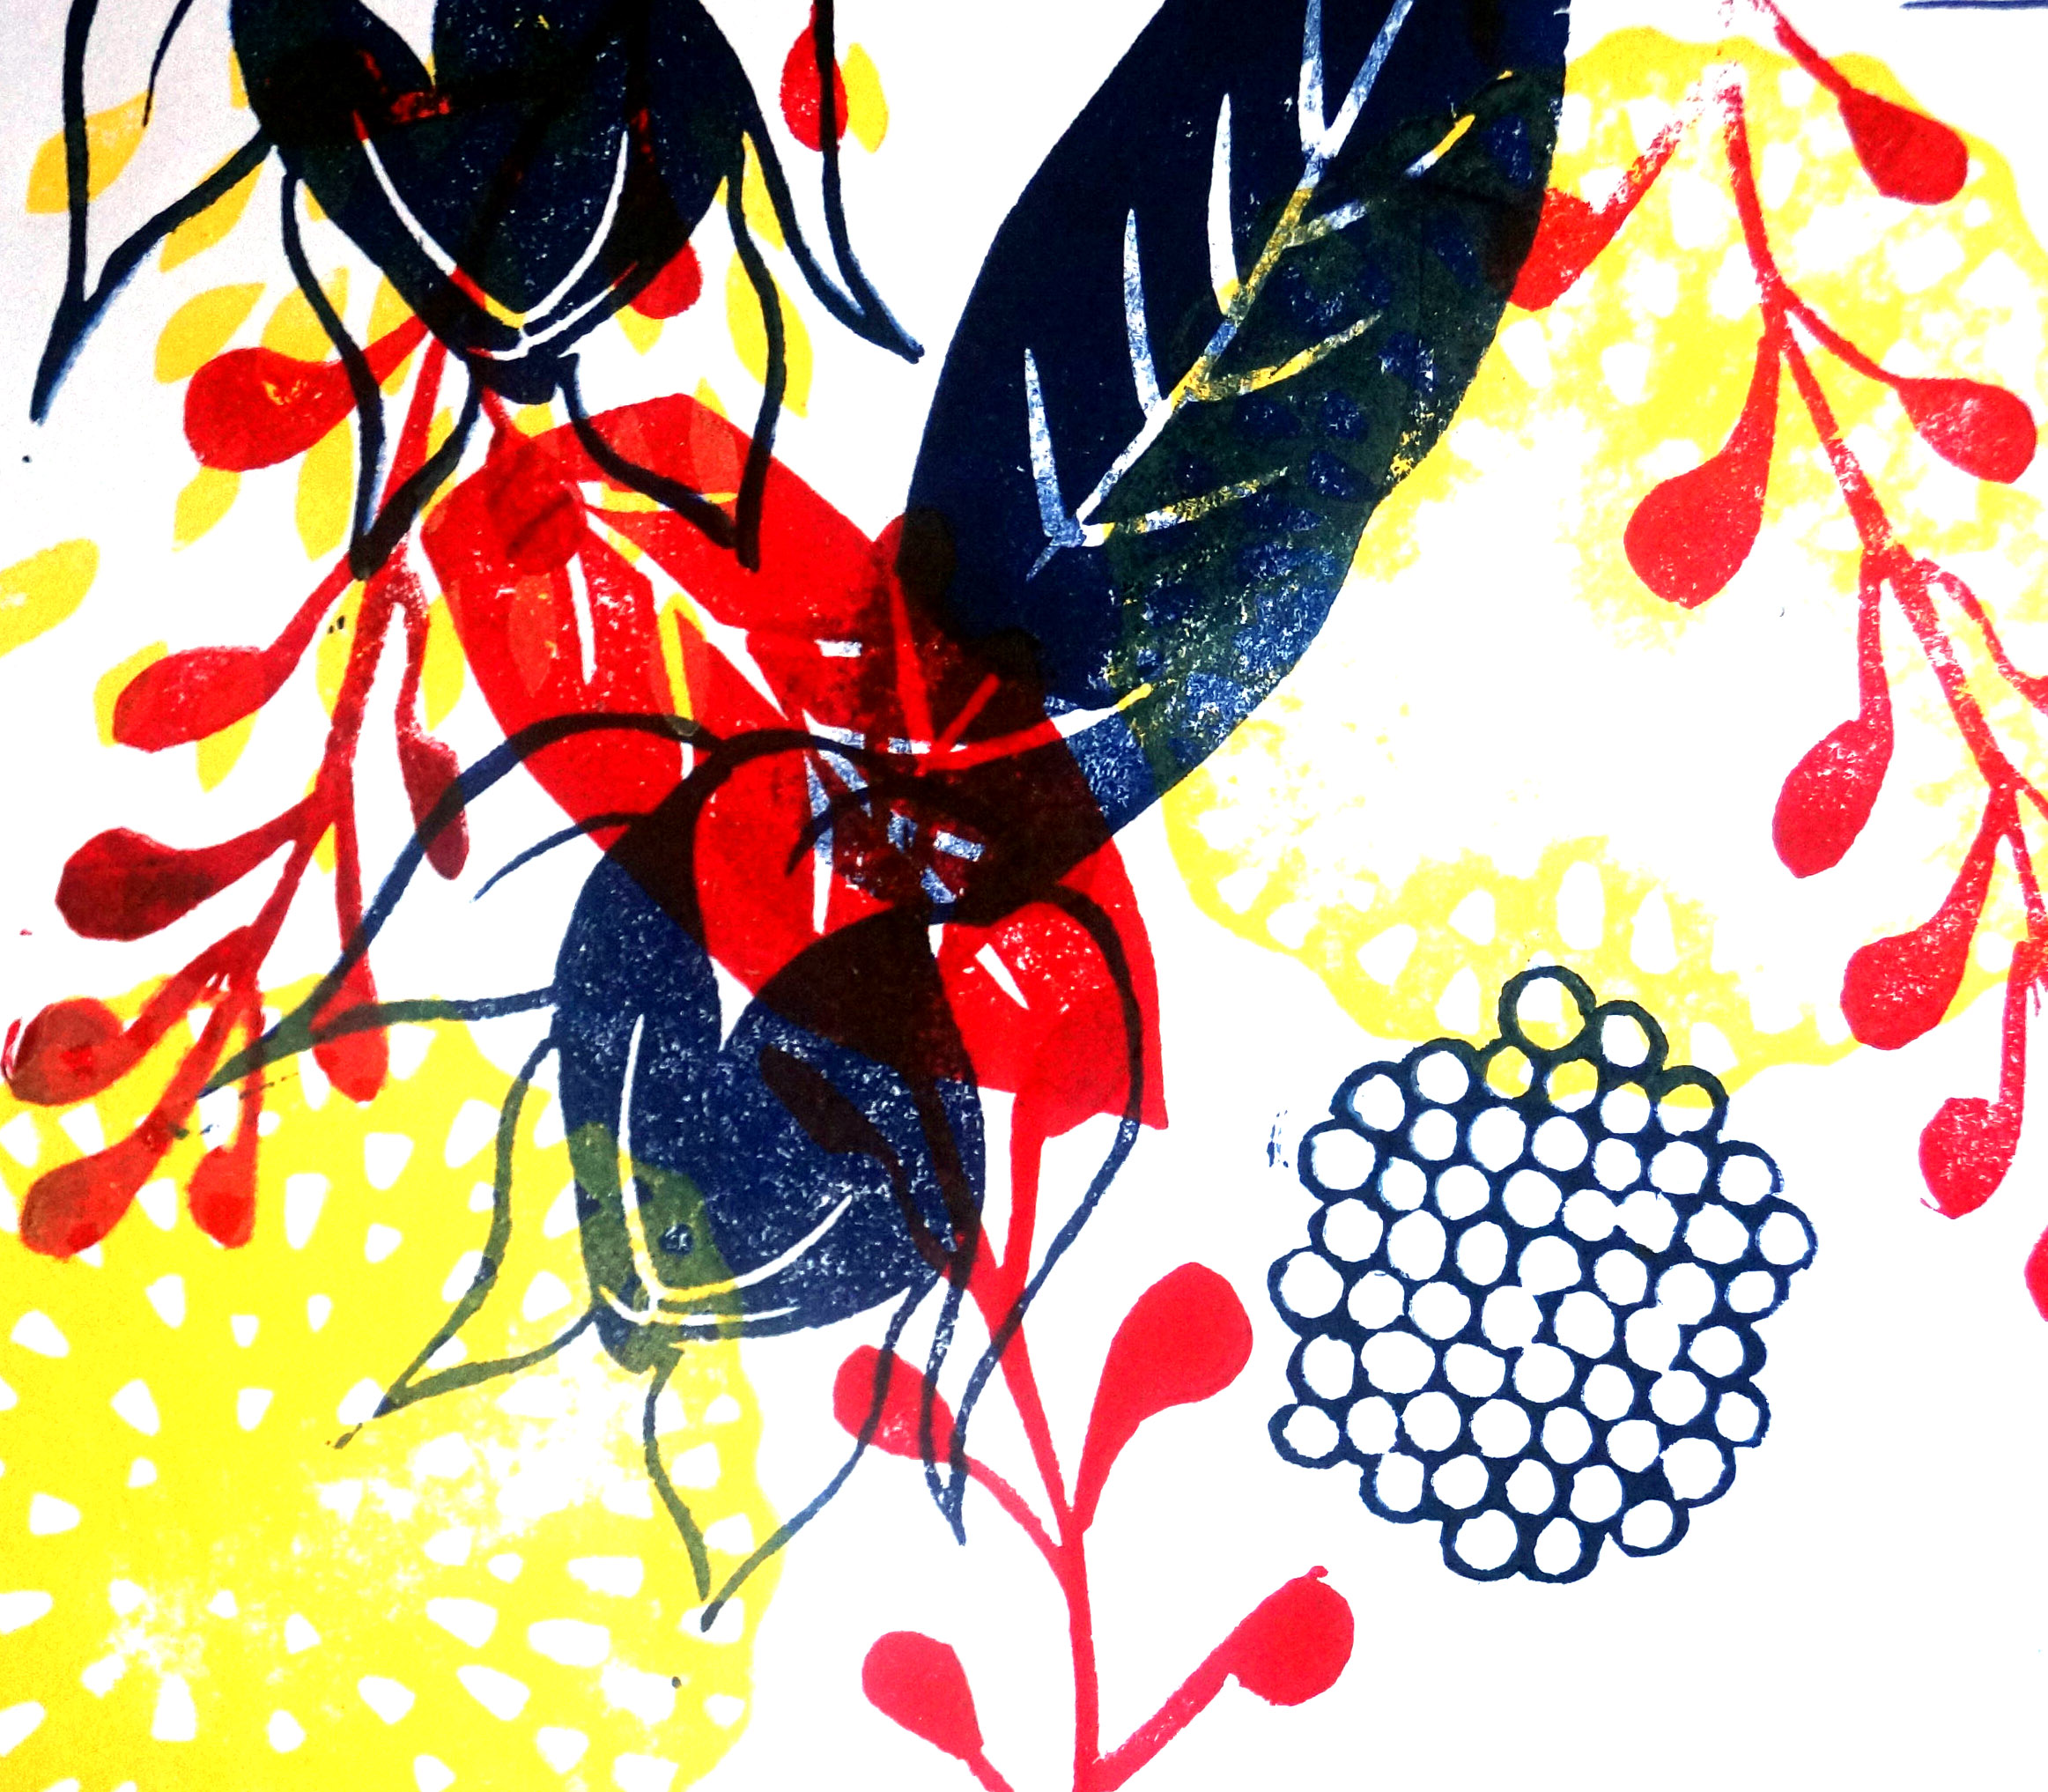
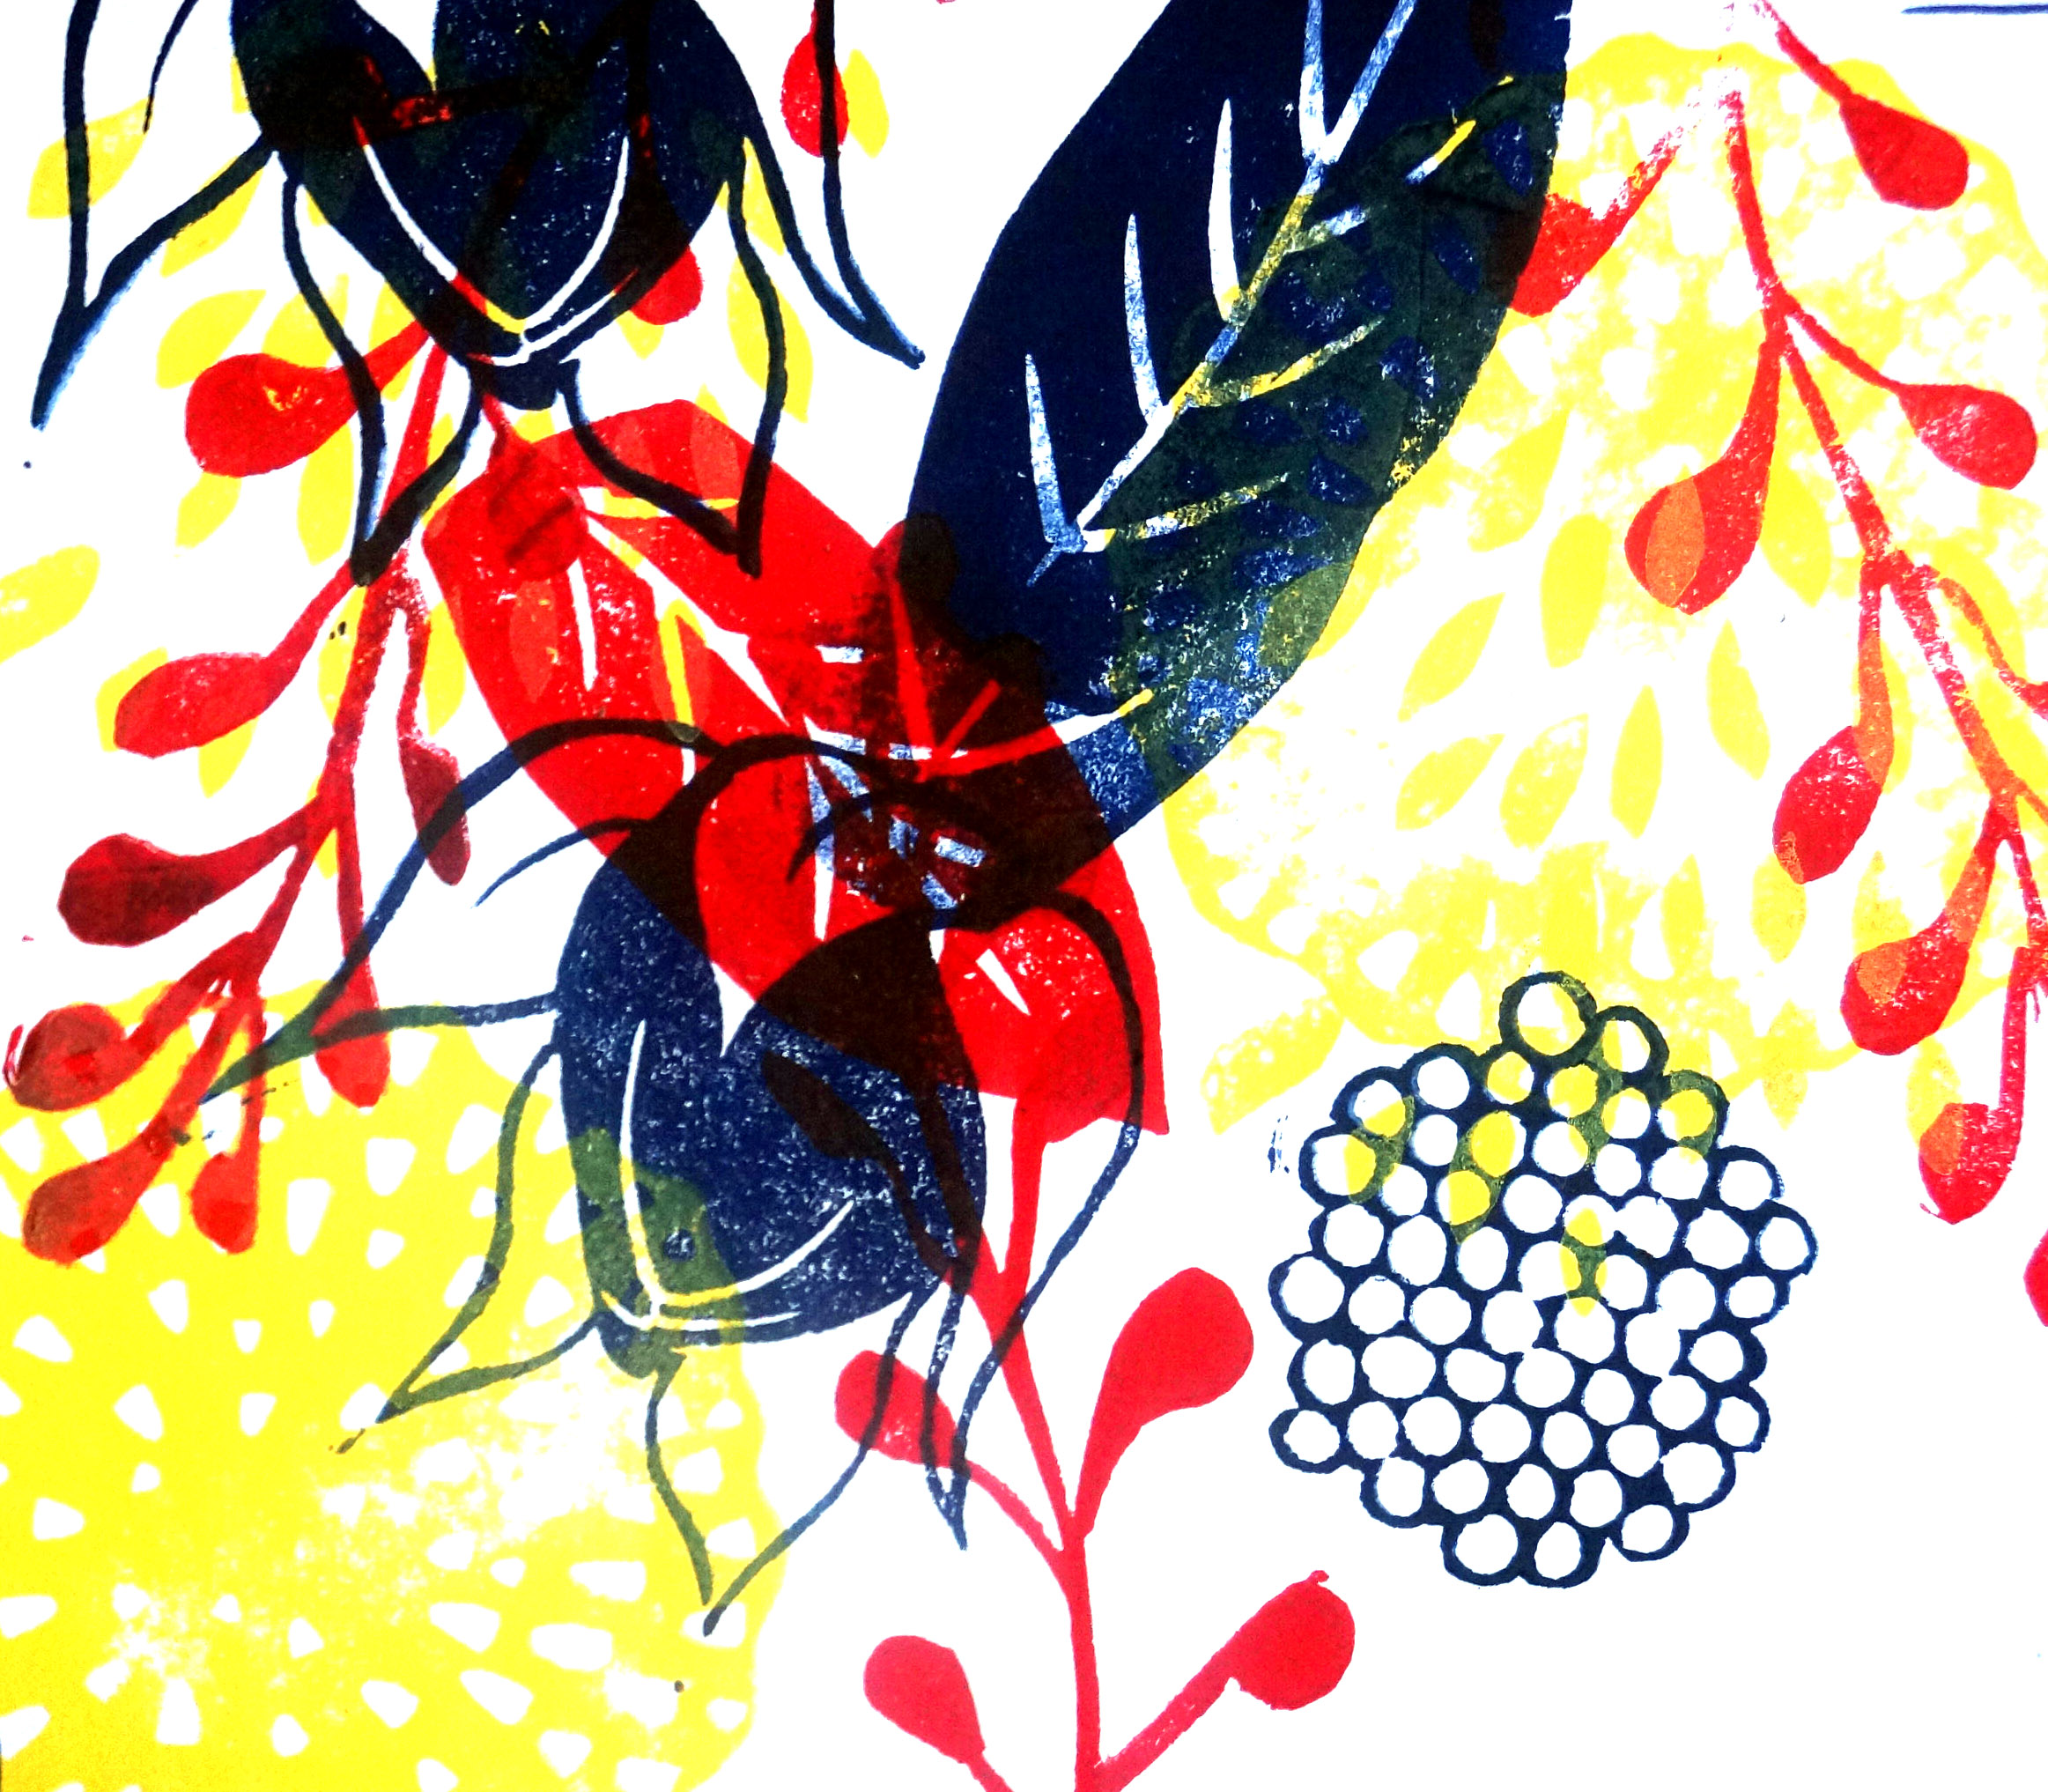
6. Repeat the previous steps until you’ve completed your work. You can see the series of photos on the bottom of these pages that were taken to create the sample artwork.
7. Export the images to your computer or tablet.
Processing images
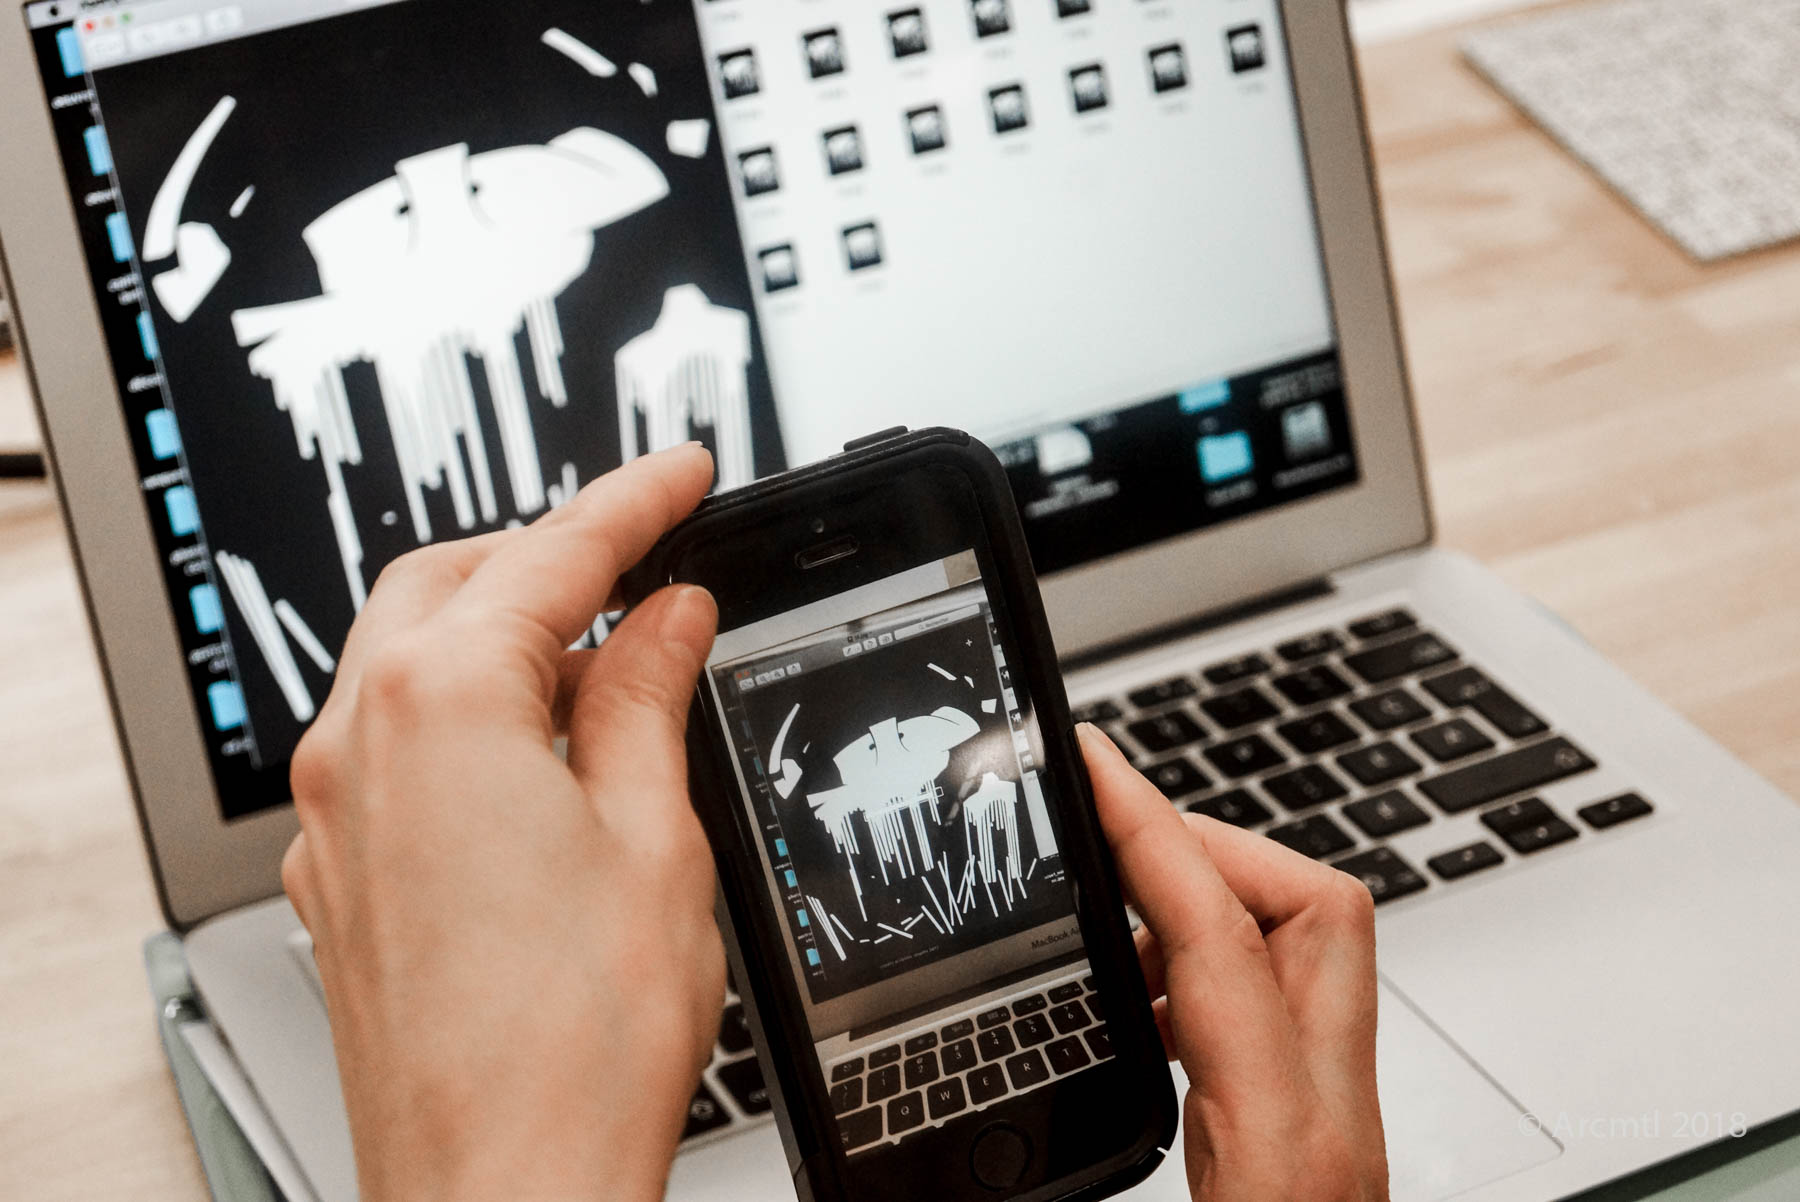
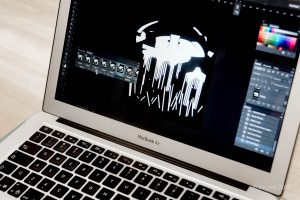
Once you’ve selected your set of images, you can edit them in Photoshop or equivalent software. It may be necessary to adjust the tone, contrast, colour, or to crop each image. It’s best to try to bring the exact same changes and crop to each image rather than improvise adjustments to each one, as this will ensure a clean and consistent animation.
To make this process more efficient, be sure to document the steps you followed to modify the first image and repeat these steps exactly for all other images. If you’re not familiar with recording ACTIONS in Photoshop, we suggest you consult online guides on this topic. The easiest way to treat all images in the same way will be to record the steps performed for the first image as “actions”, and then to simply “play” those actions after opening each subsequent image.
Once you’ve modified and saved your final images in a folder, you’re ready to make your GIF!
 Creating the GIF / animation

1. In Photoshop, in the File menu, click Scripts – and then on the submenu, Load Files Into Stacks. You’ll then be asked to choose the images you want to use to create the animation. These images will all become individual layers once opened, in a single Photoshop file.
2. In the Windows menu, click Timeline to bring up the Timeline window at the bottom of the screen.
3. On the small menu at the top right of the Timeline window, click Make Frames From Layers. This will move your images from their layers to the Timeline window.
4. You can now click the Play button at the bottom of the Timeline window to see your animation!
5. If it is too short, or too long, you can change the number of milliseconds per frame. To do this, click on the first image in the Timeline window and by pressing Shift, select the last image to choose all the images. You can then click at the bottom of any image and change the number of milliseconds displayed.
6. Once you’re satisfied with the result, you can save the animation in the GIF format by going to the File menu and select Save For Web, or in more recent versions of Photoshop, you may need to go to Export under File and select the Save For Web submenu.
7. You can also save your working file in PSD format if you want to edit it in the future.
-
- Image 1
-
- Image 2
-
- Image 3
-
- Image 4
-
- Image 5
-
- Image 6
-
- Image 7

-
- Image 8
-
- Image 9

-
- Image 10

-
- Image 11
-
- Image 12
 Finalizing and linking AR content

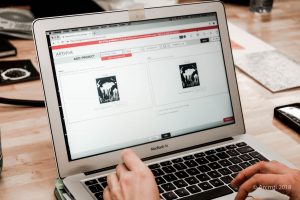
1. Open an artist account on Artivive. You may have to provide some proof that you’re an artist, and not, for example, a marketing agent! You may also have to wait 24 hours before you can use your free account. A free account lets you create up to three works for free.
2. Once you have your GIF and the JPEG of the printed image, log into your Artivive account.
3. In the account window, you’ll see a field on the top left side to fill in the name of your work. Once filled, click Create Artwork.
4. Two frames will appear. In the first, you need to upload the JPEG image of the printed work that will trigger the AR content.
5. In the second frame, you upload the corresponding GIF file.
6. Click Create Artwork to submit your artwork to Artivive.
7. After a few minutes, you can view your printed work with your mobile device using the Artivive app for Android or iOS and see if it works!
That’s it! If the result is not up to your expectations, try, try again! You can delete any of your 3 free works and re-use them until you’re satisfied with the results.
The Distroboto project is open to submissions year-round, and so feel free to send us your augmented prints – or just plain prints! – and we’ll consider them for distribution via Distroboto machines. Contact us by email, distroboto@arcmtl.org for any questions.
Print Augmented was made possible thanks to the Digital Strategy Fund of the Canada Council for the Arts.